
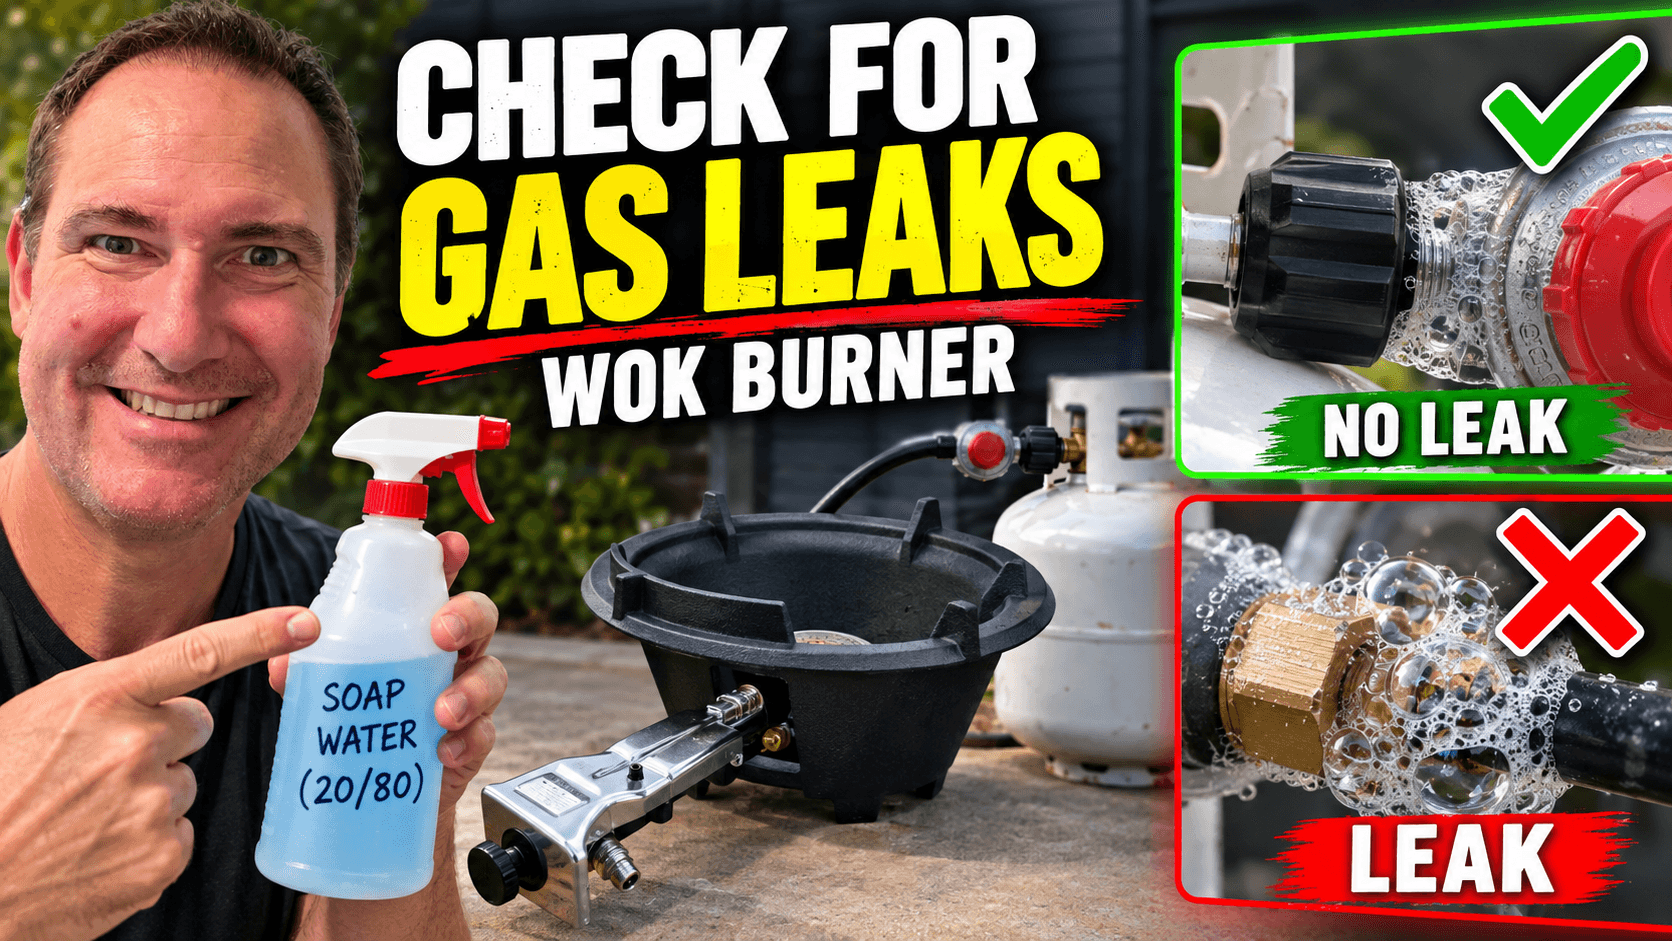
Before you light your wok burner after connecting the propane system, check the connections for leaks. A fitting can look connected and still allow gas to escape.
The useful part of a soap solution test is watching what happens after you apply it. New bubbles that form, grow, or repeatedly reform at a connection indicate a leak. Tiny bubbles already present in freshly sprayed solution are not, by themselves, evidence of escaping gas.
This tutorial follows the Blastrz Blaze setup shown in our demonstration: a propane cylinder, a QCC1 cylinder connection, an adjustable high-pressure regulator, and a hose connected to the burner through a flare fitting.
The burner stays off throughout. You are checking the gas connections before ignition.
Watch the gas leak test
Watch the full demonstration below to see both connection checks and compare stable soap solution with bubbles caused by a leak. The written steps follow the video.
When should you perform a wok burner gas leak test?
Perform this test:
- Before first use.
- Whenever you connect or reconnect the propane cylinder.
- After disconnecting or replacing a gas connection or component.
- Before returning the equipment to use after a suspected leak has been safely addressed.
Follow any additional testing intervals in your burner and regulator instructions. A previous successful test does not cover a connection you have since disturbed.
If you already smell escaping propane or hear hissing, stop. Close the cylinder valve only if safe, leave the area, and call the fire department or emergency services from a safe location. Do not approach a cylinder with flames or a visible propane cloud to close its valve. This follows the Propane Education & Research Council’s cylinder safety guidance.
Know which connections you are testing
The demonstration focuses on two connection points:
| Connection | Where to look | When it is tested |
|---|---|---|
| QCC1 connection | Where the regulator connects to the propane cylinder | After slowly opening the cylinder valve, with the adjustable regulator closed |
| Burner-side flare fitting | Where the gas hose connects to the burner inlet | After opening the adjustable regulator, with the burner control still OFF |
These instructions assume the specific regulator shown has a closed position that stops downstream flow. Do not assume every adjustable regulator can shut off gas. Follow the instructions for your actual regulator, including the required leak-test setting.
The two fittings are the focus here. They do not replace checks of any additional gas joints specified in your equipment manual.
1. Set up outdoors and keep the burner off
Place the complete setup outdoors, away from flames, cigarettes, vaping, sparks, and other ignition sources. Keep the propane cylinder upright and stable.
Start with the cylinder valve closed, the adjustable regulator closed, and the burner control set to OFF.
The burner must remain unlit throughout the test. Do not press the ignition control, light the pilot, or use a match to look for a leak.
Arrange the setup so you can reach the cylinder valve and clearly see both connections. You need to watch the wet fittings, not just spray them and move on.
2. Inspect the hose, regulator, and connections
Before pressurizing the system, inspect the components.
Look along the hose for cuts, cracks, abrasion, or other visible damage. Check the regulator and examine both the QCC1 connection and the burner-side flare fitting.
If a component is damaged, stop and have it replaced with the correct approved part before using the burner. A soap test does not make damaged equipment suitable for use.
This inspection is also a chance to identify exactly where each connection joins. At the burner end, the test area is the flare connection where the hose meets the inlet fitting.
3. Prepare the soap solution
In this demonstration, we use approximately:
- 20% liquid dish soap
- 80% water
For a small batch, combine 100 mL of liquid dish soap with 400 mL of water. The same ratio is one part soap to four parts water.
Add the water to a clean spray bottle first, then add the soap. Close the bottle and gently rotate or roll it to combine the mixture.
Avoid vigorous shaking. Excessive foam makes it harder to see whether bubbles are coming from the fitting or were already in the liquid.
The 20/80 mixture also appears in Weber’s published leak-check guidance. Use a solution compatible with your equipment, or a purpose-made gas leak detection solution according to its instructions.
4. Test the QCC1 cylinder connection
Check again that the burner control is OFF and the adjustable regulator is closed.
Slowly open the propane cylinder valve. Apply the solution around the QCC1 connection so the joint is visibly wet, then watch it closely.
Do not continue to the second connection if you see bubbles growing or repeatedly forming. Close the cylinder valve immediately if safe and follow the leak-response steps below.
This first check covers the cylinder-to-regulator connection. It does not establish that the downstream hose connection has passed.
5. Recognize the difference between foam and a leak
This is the detail that matters most when reading the test.
Spraying soapy water can produce small bubbles without a gas leak. What you need to observe is whether bubbles develop at the joint after application.
| What you see | What it means |
|---|---|
| Tiny bubbles present immediately after spraying, with no further growth | Application foam alone does not establish a leak |
| New bubbles emerging from the joint | Treat as a leak |
| Bubbles getting larger at the connection | Treat as a leak |
| Bubbles bursting and repeatedly reforming | Treat as a leak |
| Stable solution with no new or growing bubbles | No leak detected at that wetted connection during the test |
A leak does not have to produce one large bubble. Repeated small bubbles at the same point also matter.
If foam obscures the joint or you cannot confidently interpret the result, do not count that as a pass.
6. Test the burner-side flare fitting
Once the QCC1 connection passes, open the adjustable high-pressure regulator according to its instructions so pressure reaches the hose.
Keep the burner control OFF. Opening the regulator for this test is not an instruction to open the burner valve.
Spray the solution around the burner-side flare fitting. Wet the joint where the hose fitting connects to the burner inlet and observe it closely.
In our demonstration, the incorrectly connected flare fitting produces bubbles that continuously form and grow. On the correctly connected fitting, the solution remains essentially stable.
If no new bubbles form or grow, no leak is detected at that connection during the test. This result applies to the connection tested under those conditions, not a permanent guarantee for the entire system.
7. What to do if you detect a leak
If either connection produces growing or continuously forming bubbles:
- Close the propane cylinder valve immediately, if safe.
- Keep the burner off. Do not attempt ignition.
- Stop the test and address the connection according to the equipment instructions.
- Repeat the required leak checks after the problem has been corrected.
Do not tighten, loosen, or disconnect a fitting while it is pressurized. Closing the cylinder valve can leave gas trapped downstream. Follow the manufacturer’s safe depressurization procedure before disconnecting anything; never loosen a fitting to release trapped gas.
If you are unsure how to correct the connection, contact Blastrz or a qualified gas professional. Do not attempt to repair the cylinder or regulator.
If the leak persists, leave the burner out of service. If escaping gas continues or you cannot safely stop it, move away and contact emergency services.
8. Finish the test and rinse the connections
Once the required connections have passed:
- Close the propane cylinder valve.
- Close the adjustable regulator.
- Rinse the tested areas with clean water to remove the soap solution.
- Leave the burner control OFF.
Rinsing matters because some soap-based leak-test solutions can be mildly corrosive if left on the fittings.
The leak test ends with the gas supply shut off and the burner unlit. Follow the separate Blaze startup procedure when you are ready to light it.
Next: start and shut down your wok burner correctly
Before cooking, take the time to observe each tested connection properly. Look for new or growing bubbles, respond to any leak, and repeat the test after correcting a connection.
Watch our tutorial: Starting and shutting down a High-Pressure Wok Burner? The Order Matters. Follow it alongside the instructions supplied with your burner.
Leave a Reply
You must be logged in to post a comment.